

 Version for print
 Download files for lesson ~
Start of work
- Install the latest version of Magic Particles 3D
- Copy AstralaxIO.aex into Program Files\Adobe\Adobe After Effects CC 2014\Support Files\Plug-ins\Format
- Copy magic3d_x64.dll into Program Files\Adobe\Adobe After Effects CC 2014\Support Files\
Add the effect into your scene
- Open Adobe After Effects
- Create new file Test.aep
- Create new composition Test
- Import files Test_1.ptc and Test_2.ptc into your project
Important! one effect = one .ptc file

- Open the Test composition and drag there Test_1.ptc
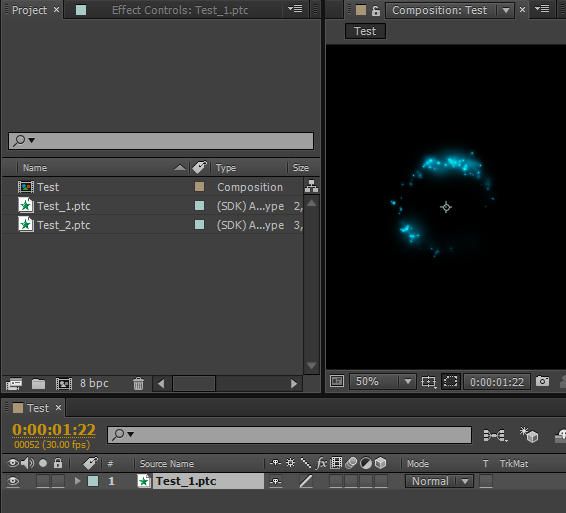
Plugin renders 3d effects on a plane, by default. In order to setup custom view, you have to create a Camera in Magic Particles and attach it to your effect. In this case AE plugin will use this Camera for rendering.

| Plugin for Adobe After Effects ~ 692,87 Kb |
Astrallax studio points out that Yuriy Levchenko is not only the author of this article, but the developer of the plugin as well.